初识 Nginx
Nginx 简介
简介内容来自 Nginx 官网 http://nginx.org/en
nginx [engine x] is an HTTP and reverse proxy server, a mail proxy server, and a generic TCP/UDP proxy server, originally written by Igor Sysoev. For a long time, it has been running on many heavily loaded Russian sites including Yandex, Mail.Ru, VK, and Rambler. According to Netcraft, nginx served or proxied 25.75% busiest sites in August 2020. Here are some of the success stories: Dropbox, Netflix, Wordpress.com, FastMail.FM.
The sources and documentation are distributed under the 2-clause BSD-like license.
Commercial support is available from Nginx, Inc.
简而言之,Nginx 是一个高性能的 HTTP 和反向代理服务器,特点是占有内存少,并发能力强。详细信息请查看 Nginx 官网介绍页面。
以下两种安装方式,任意选择一种进行安装即可。
在线安装 Nginx
注意,本篇文章基于 CentOS 8.2 版本,如使用其他系统,操作可能有一些变化,一切以官方网站安装教程为准。
首先我们需要先安装 yum-utils 包,执行以下命令即可。
1
| sudo yum install yum-utils
|
然后配置 Nginx 仓库,我们需要在 /etc/yum.repo.d/ 中创建一个名为 nginx.repo 的文件,并填入以下内容。
 1
 2
 3
 4
 5
 6
 7
 8
 9
10
11
12
13
14
15
| [nginx-stable]
name=nginx stable repo
baseurl=http://nginx.org/packages/centos/$releasever/$basearch/
gpgcheck=1
enabled=1
gpgkey=https://nginx.org/keys/nginx_signing.key
module_hotfixes=true
[nginx-mainline]
name=nginx mainline repo
baseurl=http://nginx.org/packages/mainline/centos/$releasever/$basearch/
gpgcheck=1
enabled=0
gpgkey=https://nginx.org/keys/nginx_signing.key
module_hotfixes=true
|
默认情况下使用的是 Nginx 稳定版仓库,即配置中的 nginx-stable。如果需要使用主线版仓库,可以执行下面的命令进行手动指定。
1
| sudo yum-config-manager --enable nginx-mainline
|
上述准备工作完成后,就可以开始安装 Nginx 了,执行下面这条命令即可。
稍等片刻完成安装后,可使用下述命令来验证是否安装成功。
1
2
| nginx -v
whereis nginx
|
得到类似于下面的输出,即代表安装成功。
1
2
| nginx version: nginx/1.18.0
nginx: /usr/sbin/nginx /usr/lib64/nginx /etc/nginx /usr/share/nginx /usr/share/man/man8/nginx.8.gz
|
离线安装 Nginx
下载并解压
1
2
3
4
5
6
7
| cd /usr/local/software
## 下载
sudo wget http://nginx.org/download/nginx-1.18.0.tar.gz
## 解压
tar -zxvf nginx-1.18.0.tar.gz -C ./
|
编译
1
2
| cd nginx-1.18.0
sudo ./configure --prefix=/usr/local/nginx
|
其中 --prefix 的作用是指定编译后的文件存放位置,可以根据实际情况自由确定。
编译过程中可能会遇到一些报错,详细信息和解决方案如下。
此部分内容参照文章 Nginx 教程(一) Nginx 入门教程
./configure: error: C compiler cc is not found
错误原因:缺少编译环境,安装编译源码所需要的工具和库:
执行命令:sudo yum install gcc gcc-c++ ncurses-devel perl
./configure: error: the HTTP rewrite module requires the PCRE library
错误原因:缺少 HTTP rewrite module 模块
执行命令:sudo yum install pcre pcre-devel
./configure: error: the HTTP gzip module requires the zlib library
错误原因:缺少 HTTP zlib 类库,我们选择安装模块:
执行命令:sudo yum install zlib gzip zlib-devel
上述报错都解决了之后,再次执行编译命令,可以得到如下输出。
 1
 2
 3
 4
 5
 6
 7
 8
 9
10
11
12
13
14
15
16
17
18
| Configuration summary
+ using system PCRE library
+ OpenSSL library is not used
+ using system zlib library
nginx path prefix: "/usr/local/nginx"
nginx binary file: "/usr/local/nginx/sbin/nginx"
nginx modules path: "/usr/local/nginx/modules"
nginx configuration prefix: "/usr/local/nginx/conf"
nginx configuration file: "/usr/local/nginx/conf/nginx.conf"
nginx pid file: "/usr/local/nginx/logs/nginx.pid"
nginx error log file: "/usr/local/nginx/logs/error.log"
nginx http access log file: "/usr/local/nginx/logs/access.log"
nginx http client request body temporary files: "client_body_temp"
nginx http proxy temporary files: "proxy_temp"
nginx http fastcgi temporary files: "fastcgi_temp"
nginx http uwsgi temporary files: "uwsgi_temp"
nginx http scgi temporary files: "scgi_temp"
|
安装
1
2
| cd /usr/local/software/nginx-1.18.0
sudo make & make install
|
得到如下输出时,即表明 Nginx 已经安装成功。
1
2
3
4
| test -d '/usr/local/nginx/logs' \
|| mkdir -p '/usr/local/nginx/logs'
make[1]: 离开目录"/usr/local/software/nginx-1.18.0"
[1]+ 已完成 make
|
在线安装 Nginx 的启动方式
如果是采用手动编译安装 Nginx 的方式,请跳过本节查看下一节内容。
配置 nginx.conf
首先编辑 /etc/nginx/nginx.conf 文件,配置 Nginx 端口与访问地址(即 server 部分)。在配置端口时,不建议设置为 80,以免与其他服务冲突。具体配置如下。
 1
 2
 3
 4
 5
 6
 7
 8
 9
10
11
12
13
14
15
16
17
18
19
20
21
22
23
24
25
26
27
28
29
30
31
32
33
34
35
36
37
38
39
40
| user nginx;
worker_processes 1;
error_log /var/log/nginx/error.log warn;
pid /var/run/nginx.pid;
events {
worker_connections 1024;
}
http {
include /etc/nginx/mime.types;
default_type application/octet-stream;
log_format main '$remote_addr - $remote_user [$time_local] "$request" '
'$status $body_bytes_sent "$http_referer" '
'"$http_user_agent" "$http_x_forwarded_for"';
access_log /var/log/nginx/access.log main;
sendfile on;
#tcp_nopush on;
keepalive_timeout 65;
#gzip on;
include /etc/nginx/conf.d/*.conf;
## 在这里新增 server 配置
server {
listen 8090;
server_name localhost;
location / {
root html;
index index.html index.htm;
}
}
}
|
系统防火墙
由于我的 CentOS 是安装在虚拟机中,未安装图形界面,故需要在宿主机上进行测试并访问虚拟机地址,所以需要增加一步禁用 CentOS 防火墙的操作,具体命令如下。
1
2
3
4
5
| ## 关闭防火墙
systemctl stop firewalld.service
## 禁止防火墙开机自启
systemctl disable firewalld.service
|
现在可以正式启动 Nginx 服务了,执行下述命令即可。
执行之后,可以使用下面命令检查是否启动成功,以及访问地址和端口是否生效。
查看包含 nginx 关键词的进程
结果如下,可以看到已经成功启动了。
1
2
| root 4781 1 0 14:31 ? 00:00:00 nginx: master process nginx
nginx 5055 4781 0 14:36 ? 00:00:00 nginx: worker process
|
查看本机所有暴露的端口
结果如下,可以看到此前配置的 8090 端口已经是 listen 状态,接下来就可以在浏览器中访问了。
1
2
3
4
5
6
7
| Active Internet connections (only servers)
Proto Recv-Q Send-Q Local Address Foreign Address State PID/Program name
...
tcp 0 0 0.0.0.0:22 0.0.0.0:* LISTEN -
tcp 0 0 0.0.0.0:8090 0.0.0.0:* LISTEN -
tcp 0 0 127.0.0.1:6010 0.0.0.0:* LISTEN -
...
|
在浏览器中访问 虚拟机ip:8090,即可看到 Nginx 的欢迎页面。
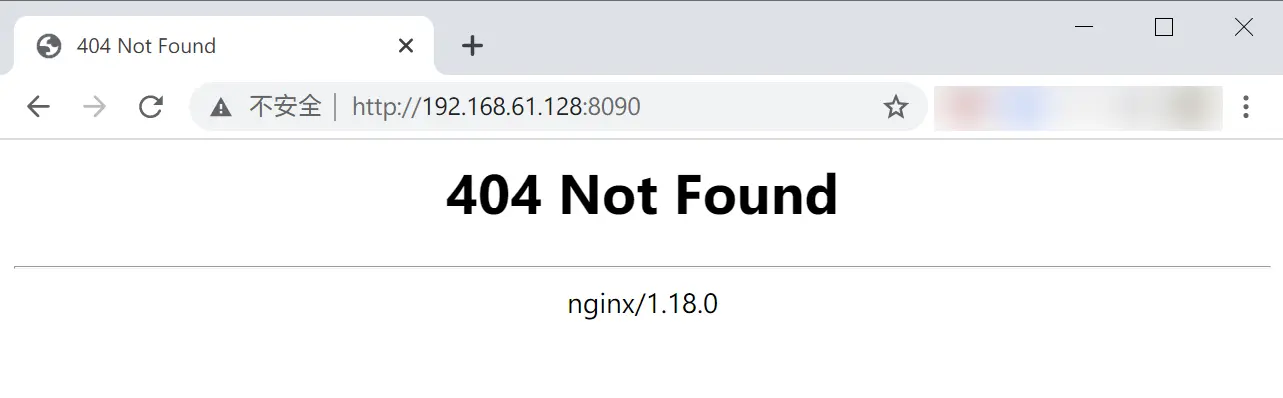
此时返回 404 是因为 Nginx 目录中并没有欢迎页面的 html 文件,但依然可以说明已经 Nginx 服务已经配置正确并启动成功。
离线安装 Nginx 的启动方式
首先执行下述命令来启动 Nginx。
1
2
| cd /usr/local/nginx/sbin
sudo ./nginx
|
同样的,我们可以按照上一节中介绍的方法,来验证 Nginx 是否启动成功,以及端口是否开放。
Nginx 服务默认的端口是 80,如果需要修改端口,也可以参照上一节中的内容进行手动修改,略有不同的是,通过手动编译安装的 Nginx,配置文件地址在 /usr/local/nginx/conf/nginx.conf,也就是编译时我们手动指定的路径下。
其余内容此处皆不再赘述。
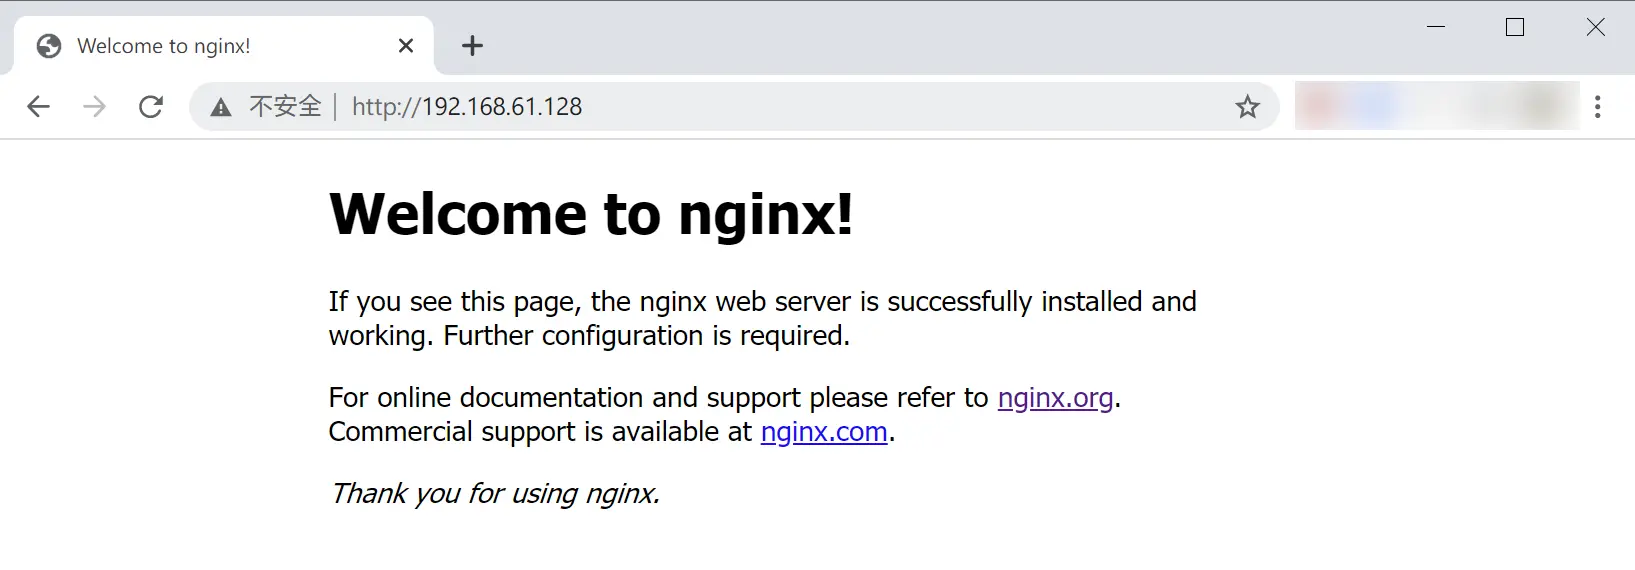
打开宿主机浏览器,访问 虚拟机ip:80,就可以看到 Nginx 的欢迎页面。
修改 nginx.conf
如果后续需要修改 nginx.conf 中的内容,例如更改 Nginx 服务端口号,请务必在修改完成后重启服务。常用的 Nginx 命令如下。
1
2
3
4
5
6
7
8
| ## 检查 nginx.conf 是否配置正确
sudo nginx -t
## 重启 Nginx 服务
sudo nginx -s reload
## 停止 Nginx 服务
sudo nginx -s stop
|
附录
在 Linux 中查找某一个具体文件路径时,可以使用以下命令。
1
| sudo find / -name filename
|
/ 代表查找的目录,此例是根目录-name 代表按照文件名进行查找filename 代表具体的文件名,例如 nginx.conf
以本文章为例,在根目录中查找 nginx.conf 的结果如下。
1
2
3
| /etc/nginx/nginx.conf
/usr/local/software/nginx-1.18.0/conf/nginx.conf
/usr/local/nginx/conf/nginx.conf
|